Create a Condition on a Filtered 1:N Relationship
In a 1:N relation (one-to-many), a Primary entity![]() The primary entity extracts data from the data set. links to one or more instances of another entity. However, by adding a filter to the 1:N relationship, users can benefit from using all of the data within the data set
The primary entity extracts data from the data set. links to one or more instances of another entity. However, by adding a filter to the 1:N relationship, users can benefit from using all of the data within the data set![]() A collection of related information that can be used in templates and flows. yet also reduce the total processing time. Once a filter is added, a condition can be set to define when the filter applies.
A collection of related information that can be used in templates and flows. yet also reduce the total processing time. Once a filter is added, a condition can be set to define when the filter applies.
Conditions display underneath the PRIMARY ENTITY in the Data Set Builder. However, the Filtered 1:N relations row only displays if a filtered relation already exists for the selected primary entity. Designers can toggle conditions ON/OFF to control whether they display when creating templates and additional conditions.
Filtered relations can be cloned to save time
Add a Filter
| 1. | Create a Data Set. |
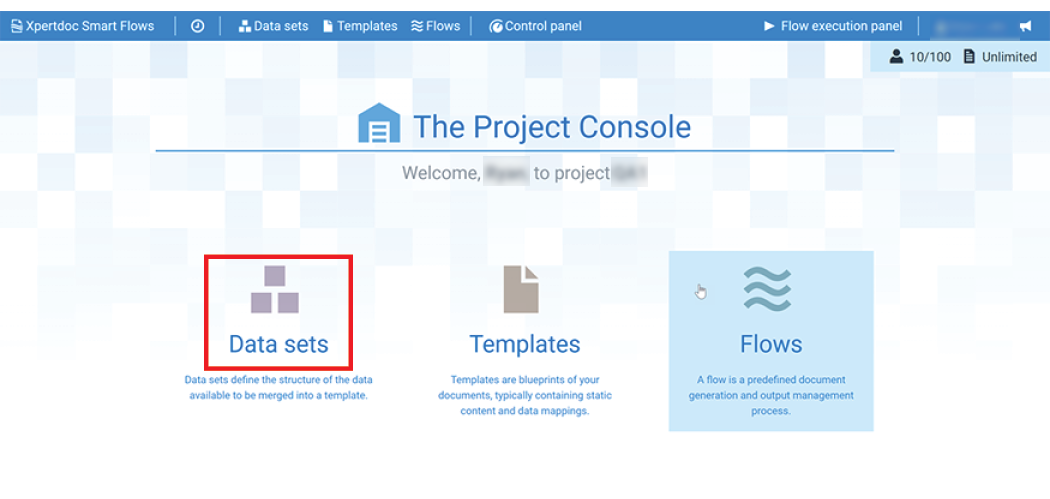
| 2. | Select the Data sets button. |
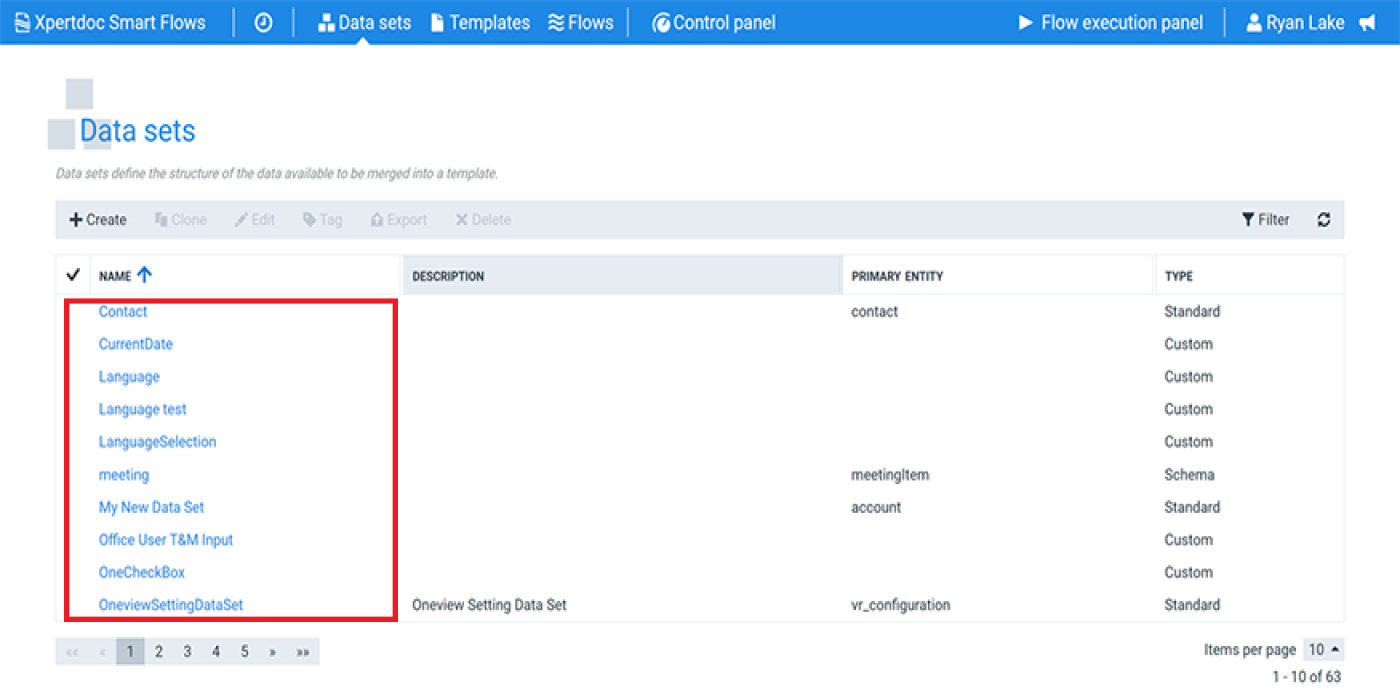
The Data sets page displays.
| 3. | Select a Data Set to filter from the available options. |
The Data Set Builder displays.
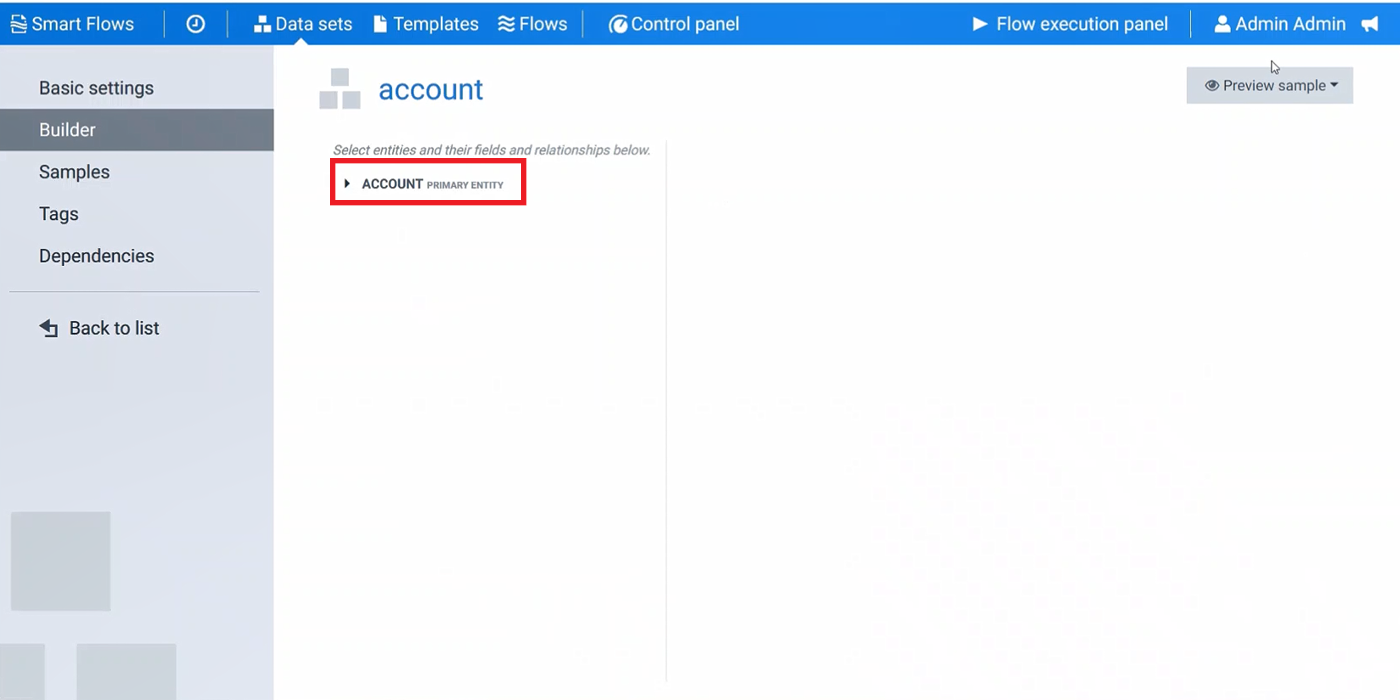
| 4. | Select the PRIMARY ENTITY button. |
The dropdown menu displays.
Configure the Filter
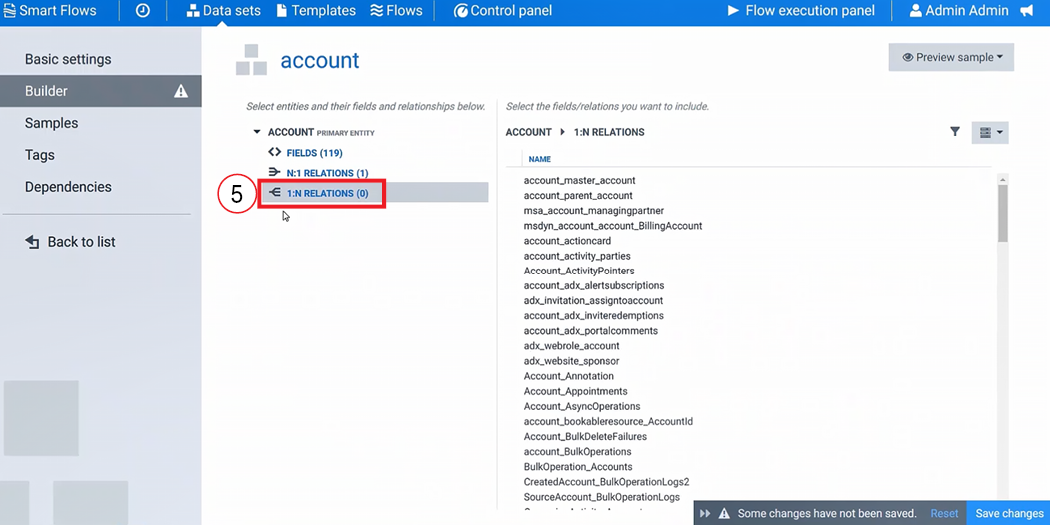
| 5. | Select the 1:N RELATIONS button. |
On the right, the 1:N RELATIONS display.
| 6. | Hover the mouse over the 1:N relation row. |
A plus mark(+) displays.
| 7. | Select the plus mark(+). |
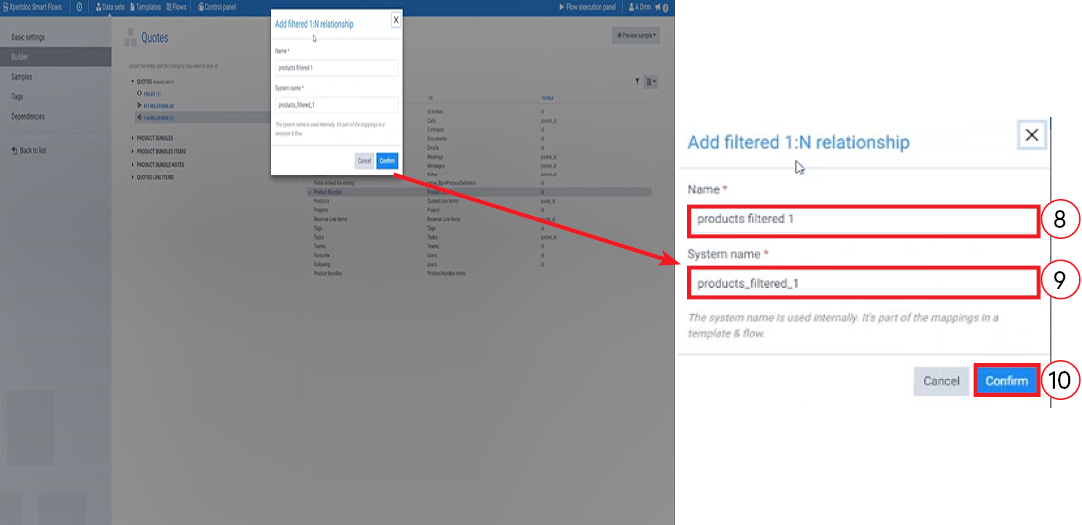
The Add filtered 1:N relationship window displays.

| 8. | In the Name field, type in the name for your new 1:N relation. |
| 9. | In the System Name field, copy and paste the Name field entry. |
| 10. | Select the Submit button. |
The 1:N relation window no longer displays.
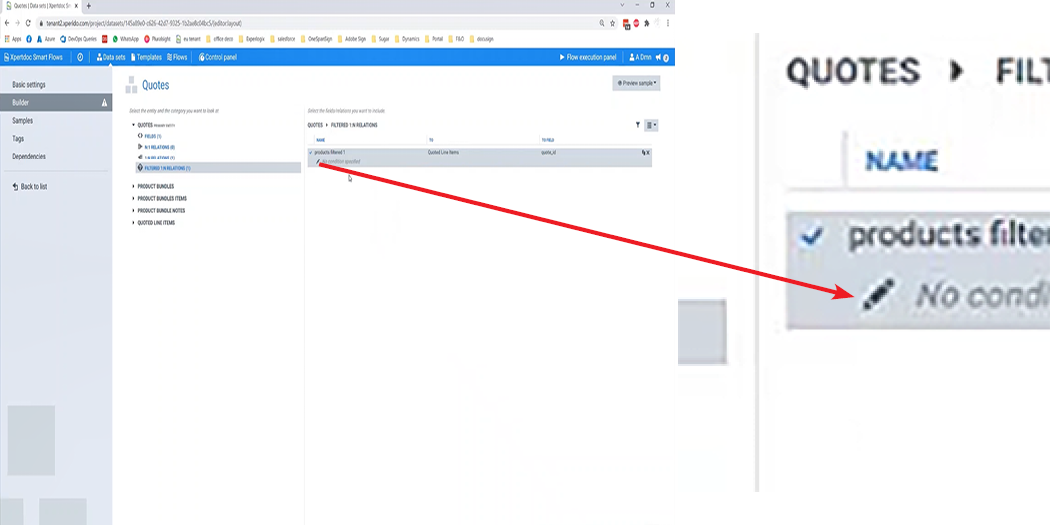
A new row displays under the primary entity titled filtered 1:N relations.
| 11. | Next to the 1:N relation, select the pencil icon to edit the condition. |
The Condition window displays.
Create a Condition
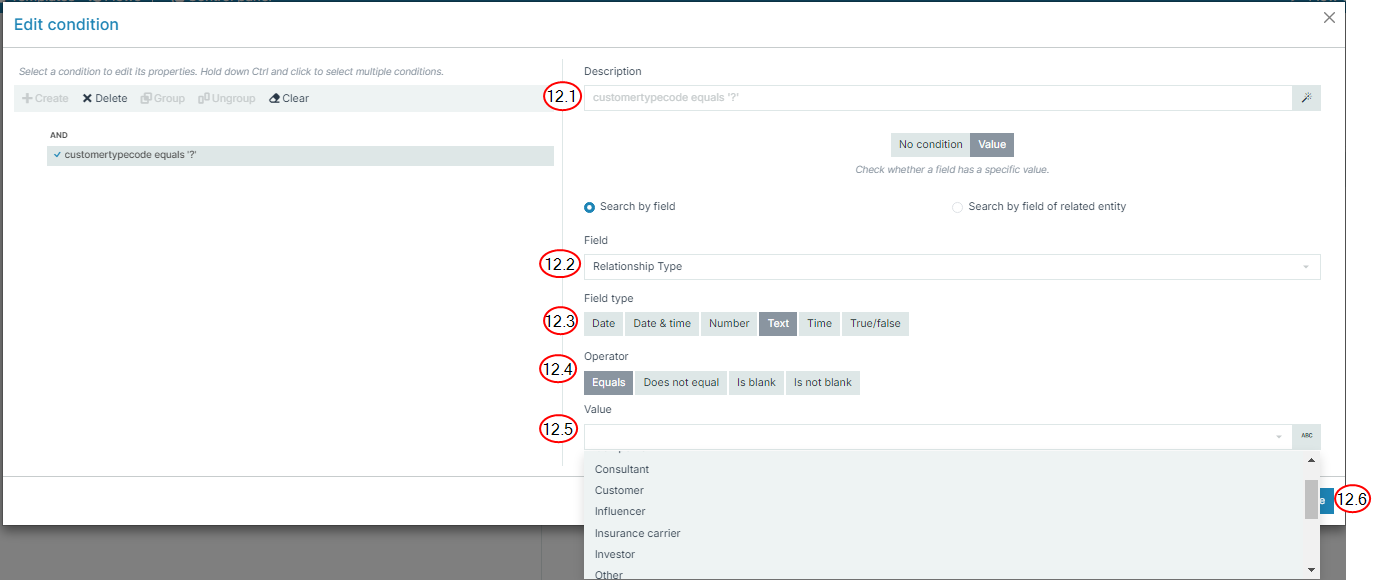
| 12. | Input the condition criteria. |
| 12.1. | In the Description field, type the description of the condition, such as when to use the condition. |
| 12.2. | In the Field, select the field to filter. |
| 12.3. | In the Field type field, select the type of field. |
| 12.4. | In the Operator field, select the operation to perform when filtering the data. |
| 12.5. | In the Value field, select the value to filter out. |
| 12.6. | Select the Save button. |
The Edit condition window no longer displays.
| 13. | At the bottom right, select the Save changes button. |
At the top right, Changes saved displays in green.

The filtered relation can now be used in templates and flow in the same way as other relations.